どうも、Tです。
自分用にRedmineを使おうと思ったら、思っていた以上にインストールが複雑だったので備忘録です。
また、バージョンが異なると手順が異なってくる可能性が高いのでご注意ください。
目次
やりたいこと
Redmineを可能な限り簡単に導入して動かしたいがやりたいことです。
以下のように公式からインストール手順はでているものの、これをみて初見でインストールできる人がいるのか疑問です・・・。


そもそもRedmineのインストール手順がバージョンなどによって複数ありすぎて自分用に確立しておきたかったというのもあります。古い記事ですが、下記の方がインストールのパターンについて考察していました。


環境
バージョン
本記事では下記のバージョンを使用しています。可能な限り簡単に導入できるようdnfなどを使用しています。
| カテゴリ | バージョン | 備考 |
| OS | Red Hat Enterprise Linux release 9.2 (Plow) | 仮想マシン |
| Apache httpd | 2.4.57-5 | dnfでインストール |
| MariaDB | 10.5.22-1 | dnfでインストール |
| Ruby | 3.0.4-160 | dnfでインストール |
| Passenger | 6.0.19 | gemでインストール |
| Redmine | 5.1.1.stable.22484 | svnでダウンロード |
OS環境
RHEL9の作業環境は下記です。
- SELinux無効
- Firewalld無効
- RHN登録済み
- rootユーザーで操作
インストール
Apache httpdインストール
Apache httpdをインストールします。
# dnf install httpd mod_ssl
Apache httpdを起動し、自動起動を有効にします。
# systemctl start httpd
# systemctl enable httpd
MariaDBインストール
MariaDBをインストールします。
# dnf install mariadb-server
設定に「character-set-server=utf8mb4」を追加します。
# vi /etc/my.cnf.d/mariadb-server.cnf

--割愛--
[mysqld]
character-set-server=utf8mb4 #追加
datadir=/var/lib/mysql
socket=/var/lib/mysql/mysql.sock
log-error=/var/log/mariadb/mariadb.log
pid-file=/run/mariadb/mariadb.pid
--割愛--
MariaDBを起動し、自動起動を有効にします。
# systemctl start mariadb
# systemctl enable mariadb
下記のコマンドで文字コードがutf8mb4になっていることを確認します。
# echo status | mysql
--------------
mysql  Ver 15.1 Distrib 10.5.22-MariaDB, for Linux (x86_64) using  EditLine wrapper

Connection id:          3
Current database:
Current user:           root@localhost
SSL:                    Not in use
Current pager:          stdout
Using outfile:          ''
Using delimiter:        ;
Server:                 MariaDB
Server version:         10.5.22-MariaDB MariaDB Server
Protocol version:       10
Connection:             Localhost via UNIX socket
Server characterset:    utf8mb4 #文字コードを確認
Db     characterset:    utf8mb4 #文字コードを確認
Client characterset:    utf8
Conn.  characterset:    utf8
UNIX socket:            /var/lib/mysql/mysql.sock
Uptime:                 4 sec

Threads: 1  Questions: 4  Slow queries: 0  Opens: 17  Open tables: 10  Queries per second avg: 1.000
--------------
Rubyインストール
redmineはRuby on Railsで動いているためRubyをインストールします。
# dnf install ruby ruby-devel rubygems-devel
Passengerインストール
Passengerは、Apache httpdで受信したリクエストをRuby on Railsで動かすためのモジュールです。rpmパッケージがなかったためgemコマンドでインストールします。
# gem install passenger

--割愛--
Done installing documentation for rake, rack, passenger after 39 seconds
3 gems installed
この後に、Passengerモジュールをビルドしますが、ビルドに必要なパッケージをインストールしておきます。
# dnf install libcurl-devel zlib-devel openssl-devel httpd-devel apr-devel apr-util-devel
PATHを追加しpassenger-install-apache2-moduleを実行しApache httpdのpassengerモジュールとビルド・インストールします。。ビルド・インストールが始まる確認画面が表示されるためEnterキーを押下します。
# export PATH=$PATH:/usr/local/bin/
# passenger-install-apache2-module
Welcome to the Phusion Passenger Apache 2 module installer, v6.0.19.

This installer will guide you through the entire installation process. It
shouldn't take more than 3 minutes in total.

Here's what you can expect from the installation process:

1. The Apache 2 module will be installed for you.
2. You'll learn how to configure Apache.
3. You'll learn how to deploy a Ruby on Rails application.

Don't worry if anything goes wrong. This installer will advise you on how to
solve any problems.

Press Enter to continue, or Ctrl-C to abort. #Enterキーを入力
PATHを追加せずpassenger-install-apache2-moduleを実行するとコマンドがないといわれます。
# passenger-install-apache2-module
bash: passenger-install-apache2-module: command not found...
コマンドはちゃんと存在していたのでPATHを追加したところ正常に動いていたしました。
# find / -name passenger-install-apache2-module
/usr/local/bin/passenger-install-apache2-module
/usr/local/share/gems/gems/passenger-6.0.19/bin/passenger-install-apache2-module
Rubyが選択されていることを確認してEnterキーを押下します。ビルドが始まるため数分ほど待ちます。
--------------------------------------------

Which languages are you interested in?

Use <space> to select.
If the menu doesn't display correctly, press '!'

> (*) Ruby
(*) Python
( ) Node.js
( ) Meteor
ビルドとインストールが終わるとApacheの設定に追加する内容が表記されます。この値は後ほど別途コマンドで出力するので一旦無視して問題ありません。Enterキーを入力します。
--------------------------------------------
Almost there!

Please edit your Apache configuration file, and add these lines:

LoadModule passenger_module /usr/local/share/gems/gems/passenger-6.0.19/buildout/apache2/mod_passenger.so
<IfModule mod_passenger.c>
PassengerRoot /usr/local/share/gems/gems/passenger-6.0.19
PassengerDefaultRuby /usr/bin/ruby
</IfModule>

After you restart Apache, you are ready to deploy any number of web
applications on Apache, with a minimum amount of configuration!

Press ENTER when you are done editing.
3つの警告が出力されます。問題ないようだったので今回は無視して、Enterキーを入力します。
-------------------------------------------- Validating installation... * Checking whether this Passenger install is in PATH... (!) Please add /usr/local/share/gems/gems/passenger-6.0.19/bin to PATH. Otherwise you will get "command not found" errors upon running any Passenger commands. Learn more at about PATH at: https://www.phusionpassenger.com/library/indepth/environment_variables.html#the-path-environment-variable * Checking whether there are no other Passenger installations... (!) You are currently validating against Phusion Passenger(R) 6.0.19, located in: /usr/local/share/gems/gems/passenger-6.0.19/bin/passenger Besides this Passenger installation, the following other Passenger installations have also been detected: /usr/local/bin/passenger Please uninstall these other Passenger installations to avoid confusion or conflicts. * Checking whether Apache is installed... ✓ * Checking whether the Passenger module is correctly configured in Apache... (!) You did not specify 'LoadModule passenger_module' in any of your Apache configuration files. Please paste the configuration snippet that this installer printed earlier, into one of your Apache configuration files, such as /etc/httpd/conf/httpd.conf. Detected 0 error(s), 3 warning(s). Press ENTER to continue. #Enter入力
警告は以下のような感じでした。
1つ目の警告は、passengerのコマンドのPATH追加してくださいですが、redmineを使用する上では不要そうでした。
2つ目の警告は、Passengerが複数インストールされていますということです。gemでインストールすると2つできるようなのですが詳細まで調べていません。問題なさそうなので放置でいました。詳しい方教えてください。
/usr/local/share/gems/gems/passenger-6.0.19/bin/passenger
/usr/local/bin/passenger
3つ目の警告は、Apache httpdに設定をしてくださいです。この後設定します。
下記の画面が表示されプロンプトが返ってきます。
-------------------------------------------- Deploying a web application To learn how to deploy a web app on Passenger, please follow the deployment guide: https://www.phusionpassenger.com/library/deploy/apache/deploy/ Enjoy Phusion Passenger, a product of Phusion® (www.phusion.nl) :-) https://www.phusionpassenger.com Passenger® is a registered trademark of Phusion Holding B.V.
下記のコマンドを実行し、Apache httpdに設定する内容が出力できるか確認します。
# passenger-install-apache2-module --snippet
LoadModule passenger_module /usr/local/share/gems/gems/passenger-6.0.19/buildout/apache2/mod_passenger.so
<IfModule mod_passenger.c>
PassengerRoot /usr/local/share/gems/gems/passenger-6.0.19
PassengerDefaultRuby /usr/bin/ruby
</IfModule>
下記のコマンドを実行し、Apache httpdの設定ファイルを作成します。
# passenger-install-apache2-module --snippet > /etc/httpd/conf.d/passenger.conf
設定を反映させるためApache httpdを再起動します。
# systemctl restart httpd
Redmineインストール
Readmineをインストールします。インストールといってもファイルのダウンロードと配置です。今回は手順を簡単にするためにSVN(Subversion)を使っていますが、SVNを使わない場合は、下記からファイルをダウンロードして対応してください。

svnをインストールします。
# dnf install subversion
Apache httpdで公開するディレクトリに移動し、svnでRedmineのソースをチェックアウト(ダウンロード)します。
# cd /var/www/html/
# svn co https://svn.redmine.org/redmine/branches/5.1-stable redmine-5.1
--割愛--
リビジョン 22493 をチェックアウトしました。
dnfでインストールしたApache httpdプロセスは、apacheユーザーで動作するため、redmineのファイルすべての所有者をapacheユーザー・apacheグループに変更しておきます。
# cd /var/www/html/
# ls -lh
合計 4.0K
drwxr-xr-x 18 root root 4.0K 12月 1 14:53 redmine-5.1
# chown -R apache:apache redmine-5.1/
# ls -lh
合計 4.0K
drwxr-xr-x 18 apache apache 4.0K 12月 1 14:53 redmine-5.1
Redmine関連設定
Redmineに関する設定をしていきます。
Apache httpdの設定変更
Apache httpdのドキュメントルートをRedmineのpublicディレクトリに変更します。
# vi /etc/httpd/conf/httpd.conf

DocumentRoot "/var/www/html"
↓
DocumentRoot "/var/www/html/redmine-5.1/public"
設定を反映させるためApache httpdを再起動します。
# systemctl restart httpd
データベース設定
MariaDBに接続し、Redmine用のデータベースとDBユーザーを作成します。
# mysql -u root
CREATE DATABASE redmine CHARACTER SET utf8mb4;
CREATE USER 'redmine'@'localhost' IDENTIFIED BY '<パスワード>';
GRANT ALL PRIVILEGES ON redmine.* TO 'redmine'@'localhost';
\q
データベース接続設定
Redmineのデータベース接続設定を行います。サンプルファイルをコピーして修正していきます。
# cd /var/www/html/redmine-5.1/config/
# cp -a database.yml.example database.yml
# vi database.yml
productionのの下記を修正します。
- database:データベース名
- username:DB接続ユーザー
- passowrd:DB接続ユーザーパスワード
production:
adapter: mysql2
database: redmine             #作成したデータベース名
host: localhost
username: redmine           #作成したデータベース接続ユーザー
password: "<パスワード>" #データベース接続ユーザーのパスワード
# Use "utf8" instead of "utfmb4" for MySQL prior to 5.7.7
encoding: utf8mb4
variables:
# Recommended `transaction_isolation` for MySQL to avoid concurrency issues is
# `READ-COMMITTED`.
# In case of MySQL lower than 8, the variable name is `tx_isolation`.
# See https://www.redmine.org/projects/redmine/wiki/MySQL_configuration
tx_isolation: "READ-COMMITTED" #変数名をtx_isolationに書き換える
依存関連のインストール
Redmineに必要になるgemをインストールしていきます。
下記パッケージがないとこの後の処理でエラーになるためインストールします。
# dnf install mariadb-connector-c-devel
Redmineのディレクトリに移動し、下記のコマンドを実行しRedmineと依存関係のあるgemをインストールします。
# cd /var/www/html/redmine-5.1/
# bundle config set --local without 'development test'
You are replacing the current local value of without, which is currently "development:test"
# bundle install
実行後に以下のようにrootユーザーではなく一般ユーザーで実行するよう警告が表示されましたが、無視して進めています。
Don’t run Bundler as root. Bundler can ask for sudo if it is needed, and installing your bundle as root will break this application for all non-root users on this machine
セッション改ざん防止用秘密鍵の作成
セッション改ざんを防ぐために使用するキーを生成します。
# cd /var/www/html/redmine-5.1
# bundle exec rake generate_secret_token
問題なければ何も表示されません。下記ファイルが作成されます。
# cat /var/www/html/redmine-5.1/config/initializers/secret_token.rb

# frozen_string_literal: true
# This file was generated by 'rake generate_secret_token', and should
# not be made visible to public.
# If you have a load-balancing Redmine cluster, you will need to use the
# same version of this file on each machine. And be sure to restart your
# server when you modify this file.
#
# Your secret key for verifying cookie session data integrity. If you
# change this key, all old sessions will become invalid! Make sure the
# secret is at least 30 characters and all random, no regular words or
# you'll be exposed to dictionary attacks.
RedmineApp::Application.config.secret_key_base = XXXXXXXXXXXXXXXXXXXXXXXXXXXXXXXX'
Redmine用のデータベーステーブル作成
Redmine用のテーブルを作成します。
# cd /var/www/html/redmine-5.1
# RAILS_ENV=production bundle exec rake db:migrate
Redmine用のデータベースに初期データを登録
Redmine用のテーブルに初期データを設定します。Select languageには「ja」を入力します。
# cd /var/www/html/redmine-5.1
# RAILS_ENV=production bundle exec rake redmine:load_default_data
Select language: ar, az, bg, bs, ca, cs, da, de, el, en, en-GB, es, es-PA, et, eu, fa, fi, fr, gl, he, hr, hu, id, it, ja, ko, lt, lv, mk, mn, nl, no, pl, pt, pt-BR, ro, ru, sk, sl, sq, sr, sr-YU, sv, ta-IN, th, tr, uk, vi, zh, zh-TW [en] ja #jaを入力
====================================
Default configuration data loaded.
ロギング構成
Redmineのログはデフォルトでローテートされず肥大化していきます。Redmineの「config/additional_environment.rb」で設定するかOSのログローテートを使用する2つの方法がありますが、今回はOSのログローテートを設定します。
redmine用のログローテート設定ファイルを作成し設定します。
# touch /etc/logrotate.d/redmine
# vi /etc/logrotate.d/redmine
公式の設定をパクってきましたが、任意で必要な内容でログローテートを設定します。
/var/www/html/redmine-5.1/log/*log {
missingok # ファイルが存在しなくてもエラーににない
notifempty #
copytruncate # ログを別名でコピーした後、元のファイルの内容を空にする
compress # 古いログを圧縮して保存する
}
動作確認
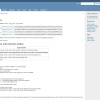
これでRedmineが動作するようになっているので、Webブラウザで「http://<IPアドレス>」にアクセスします。
画面右上の「ログイン」をクリックします。
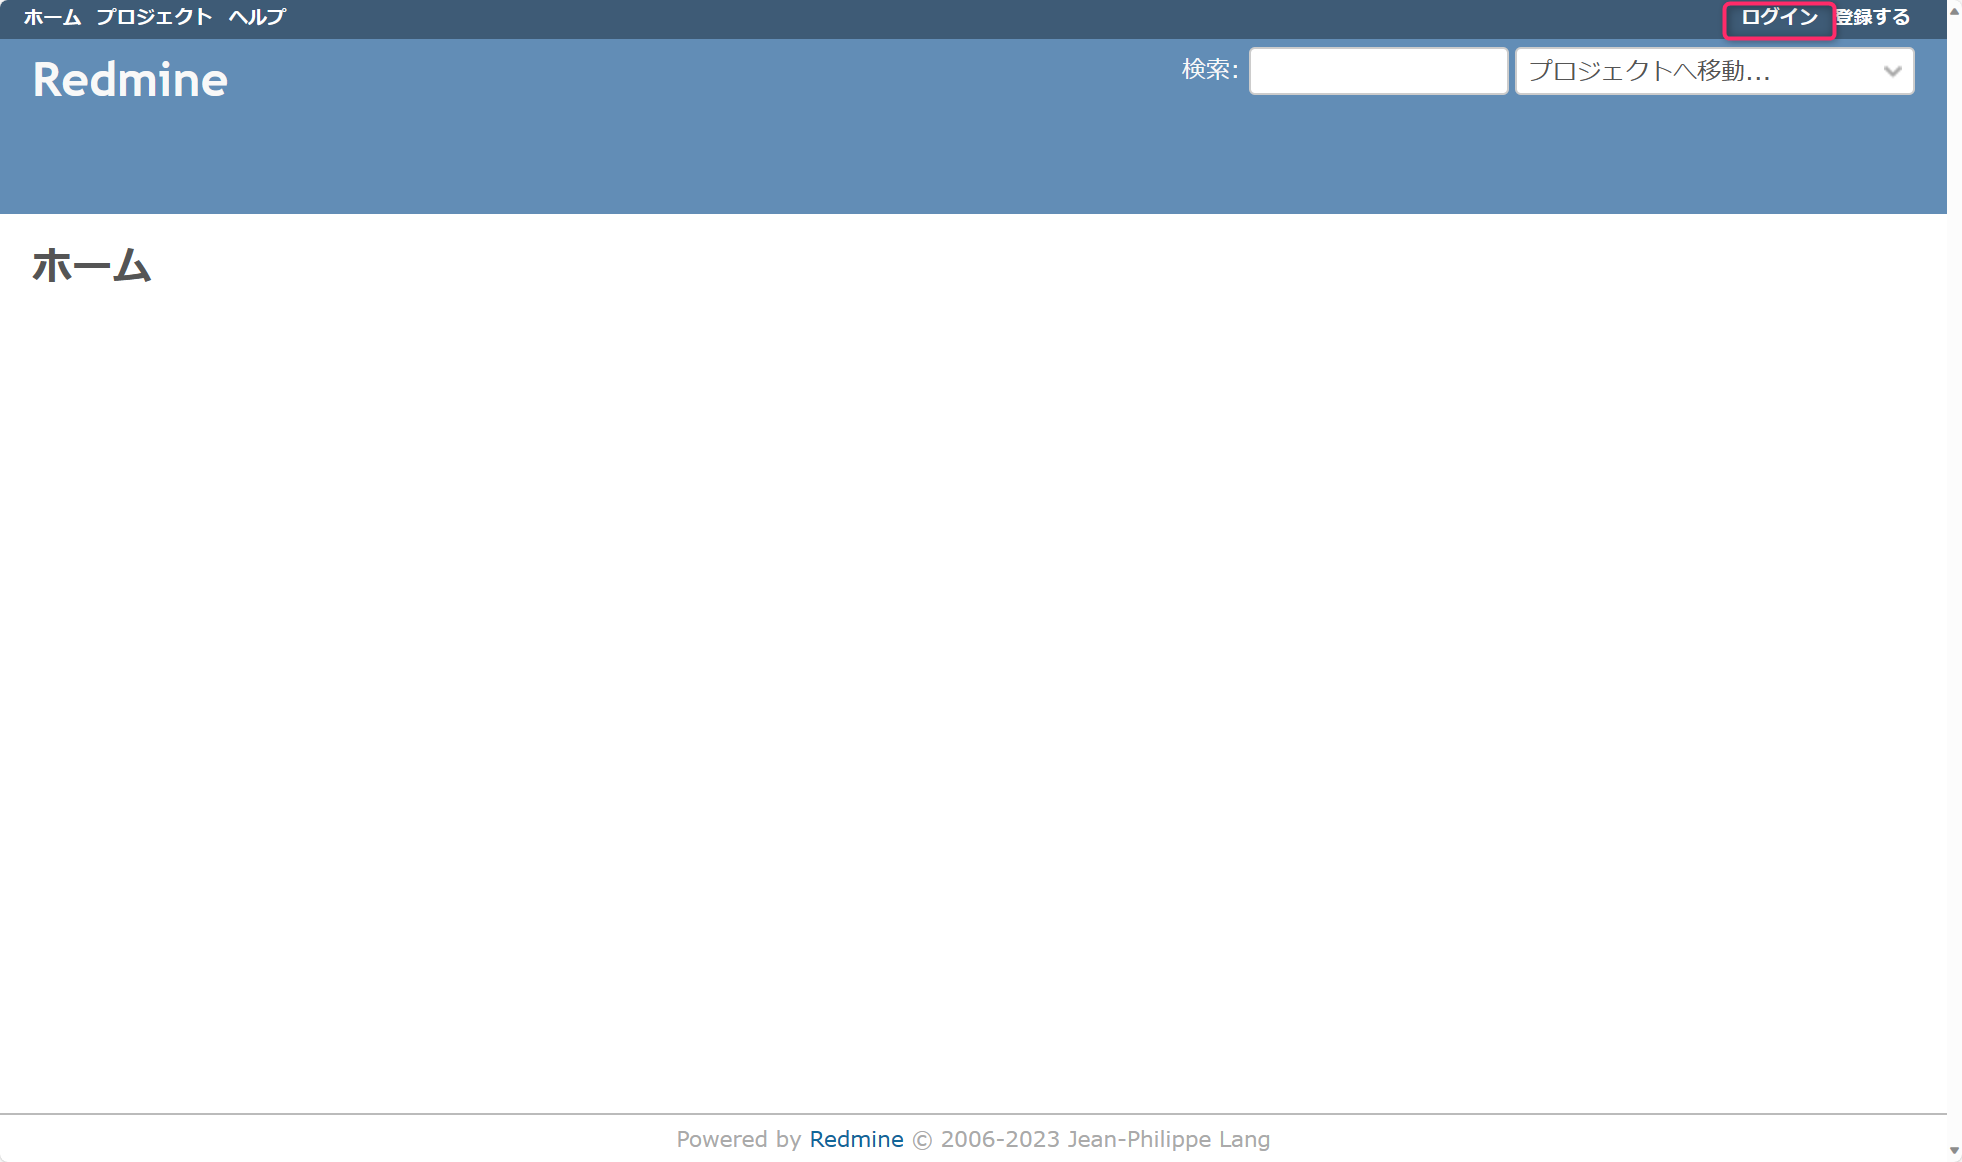
デフォルトの管理者ユーザーの初期ユーザー(admin)と初期パスワード(admin)を入力して、「ログイン」をクリックします。
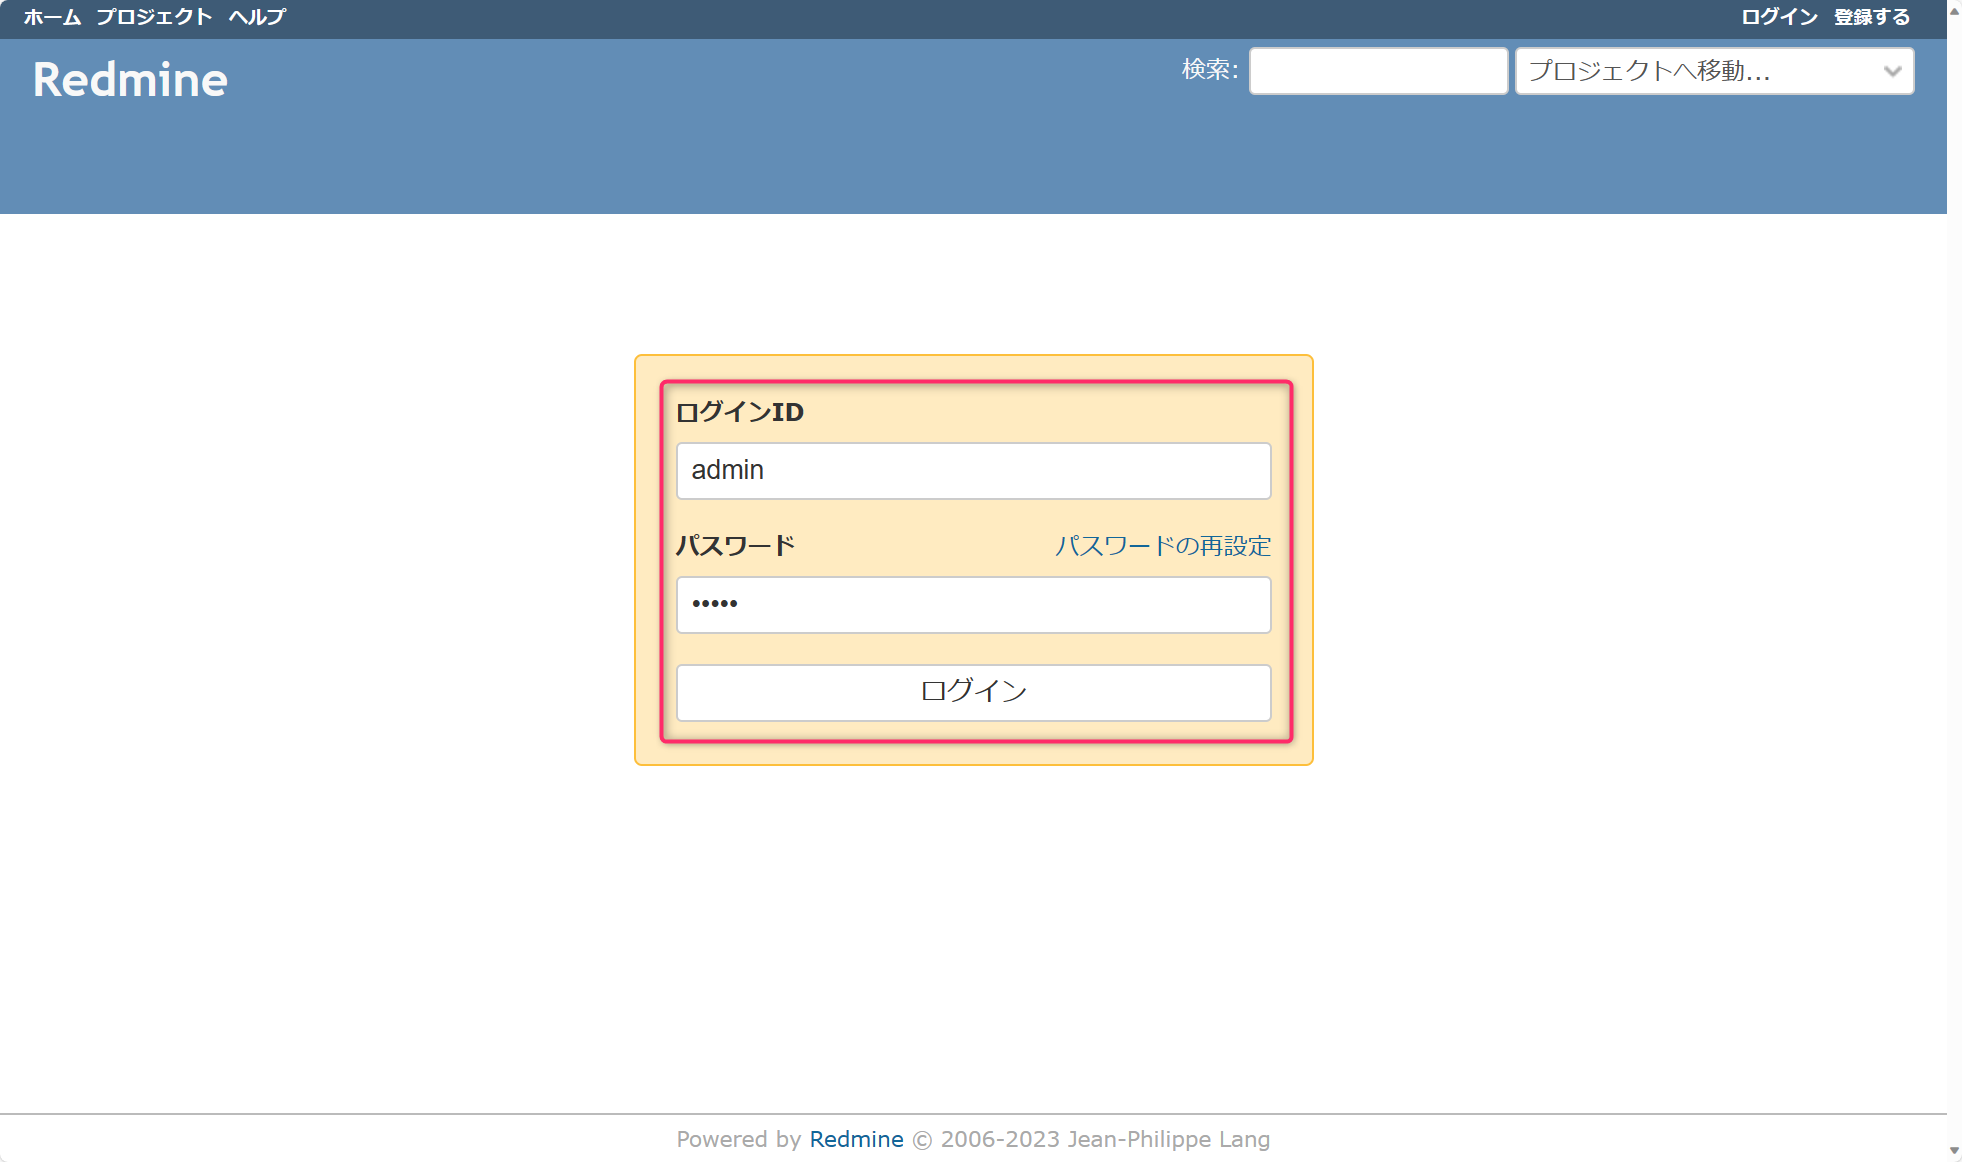
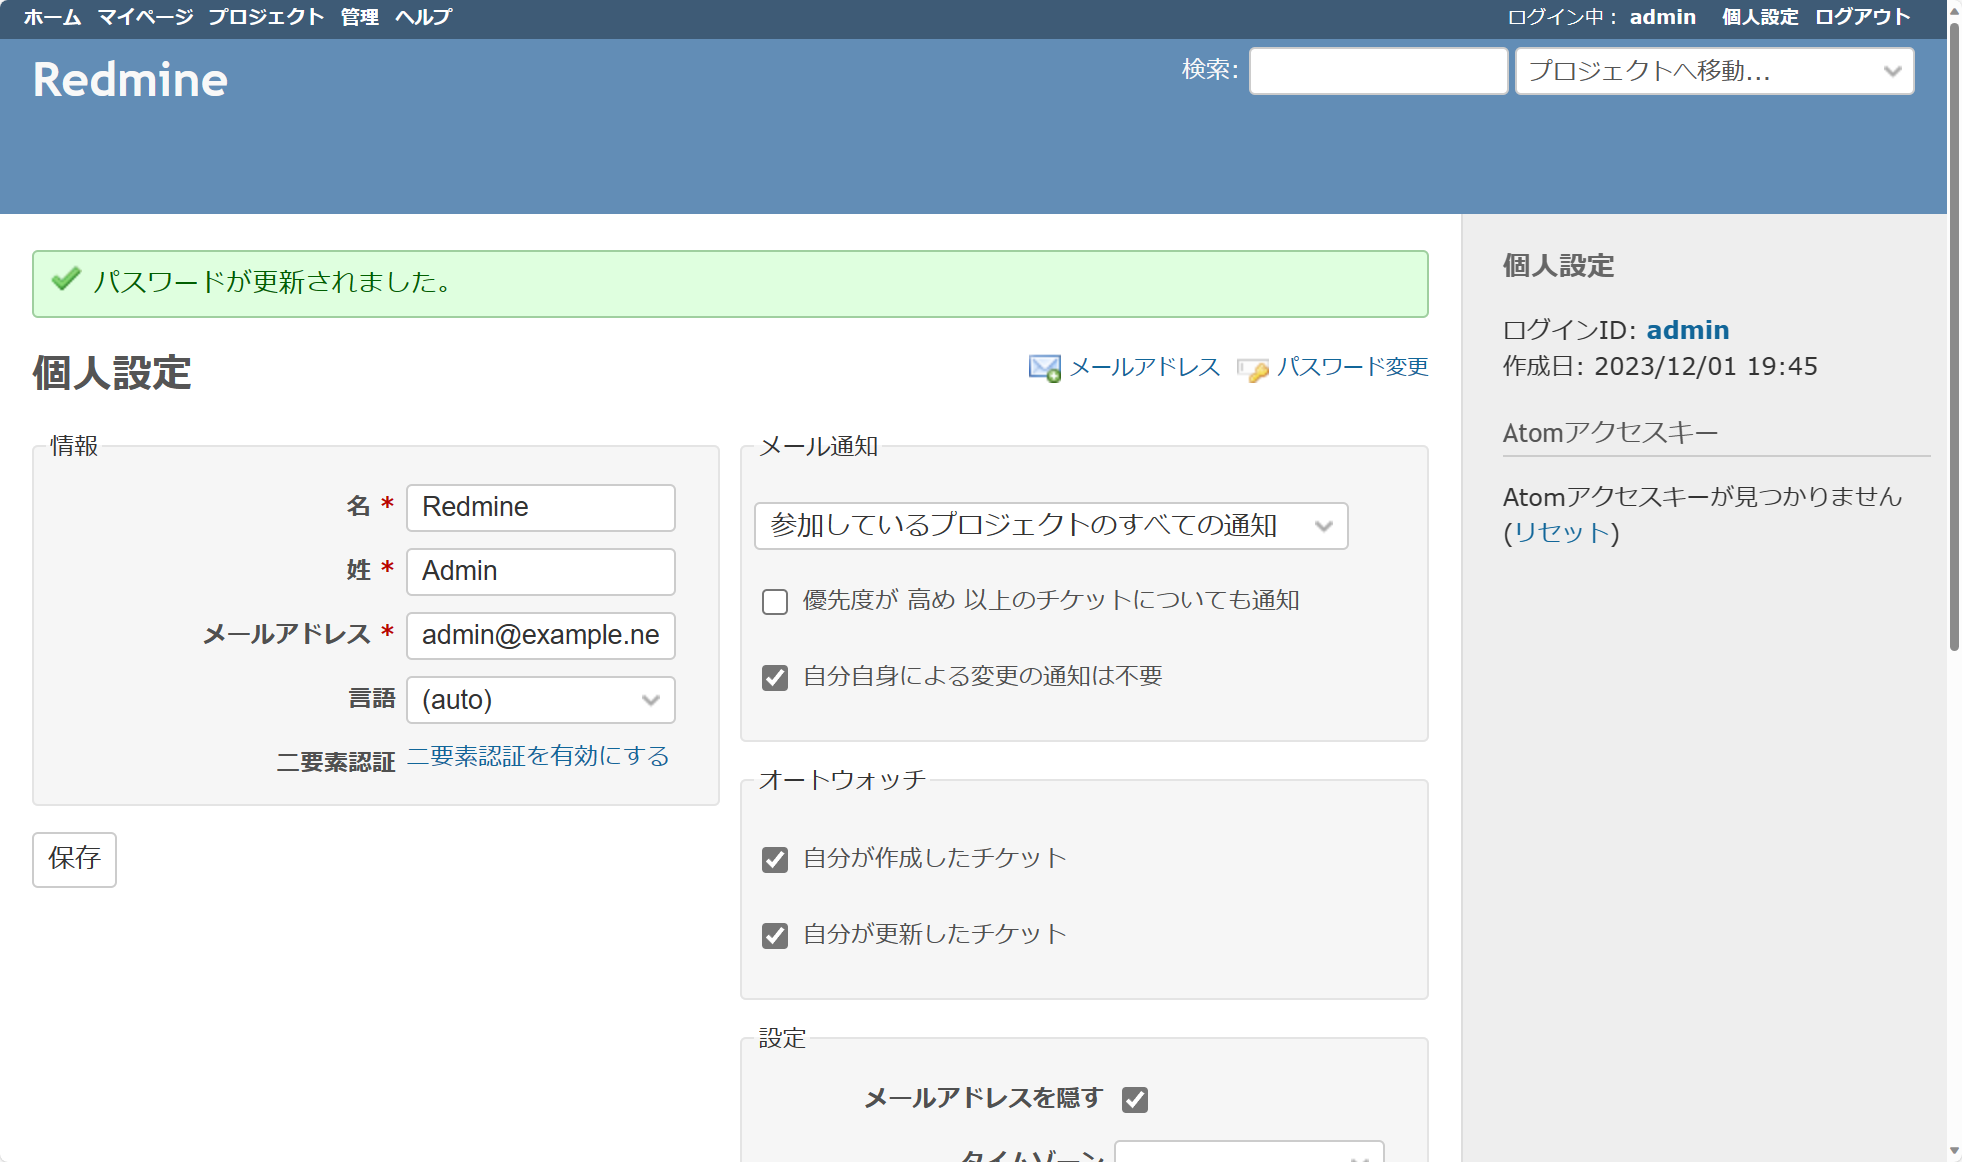
パスワードの変更が強制されるためパスワードを入力し「適用」をクリックします。
Redmineにログインし使用できるようになりました。
参考
公式
個人


まとめ
rubyのことをよくわかっていなかったため、丸1日くらい潰れた・・・・Redmineさんもう少し簡単にならないでしょうか・・・・・。